This guide is applicable to users in organisations that have configured Okta for sign in. For more information for administrators about setting that up, please see:
When your account is created, you will have received an email prompting you to confirm your email address. This email looks a bit like this:

Please click or tap on "Confirm e-mail". A web page will open where you will be asked which method to use to sign in. The exact arrangement of the screen that you will see depends heavily on your company's RIPA Expenses sign-in options configuration. Whether there is only one sign-in button (the most common case), several sign-in buttons or even a two-column layout like this:

...then either way, you must click or tap on the "Sign in with Okta" button only and ignore any other options, should they be given. You will now see an Okta authentication screen which will look something like this:

Fill out your usual Okta sign-in credentials for your existing account under your Okta organisation (if you are unsure about these, please contact your manager or company administrator for help). Then click or tap on "Sign in". This will establish a connection between your Okta account and RIPA account. You will now also be signed into RIPA Expenses:

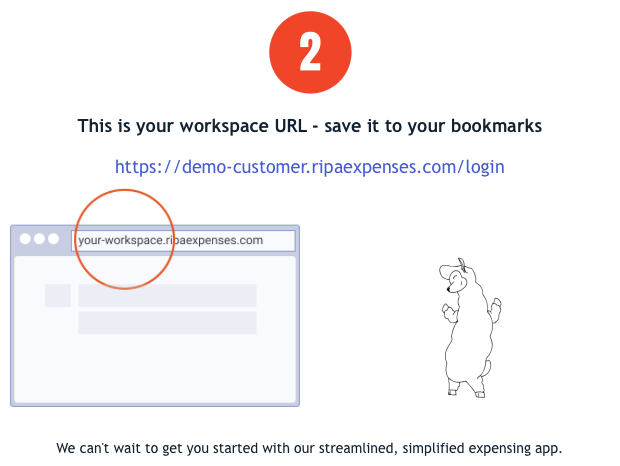
In future, you can sign in directly using the "workspace URL" mentioned in part 2 of the confirmation e-mail: